In my previous post, I mentioned that some of my cousins were in town to visit, and while they were here, we went to the fabric store to pick out fabric for a little purse we were all going to have for our annual get-together at the Eastern Idaho State Fair. Each person picked their fabrics, cut out the pattern, pressed it, and attached the lining. After that weekend, I had about 6 weeks to sew all 16 bags together.
This was a very simple pattern, which you can buy here. Aside from the cutting (my least favorite part) each bag takes about 30-40 minutes to assemble. Here's how they all came out!
Wednesday, September 7, 2011
Wednesday, August 3, 2011
Coasting Along
These lovely coasters were so easy and inexpensive to make, we immediately began making lists of who would be getting these for Christmas.
Here is what you need:
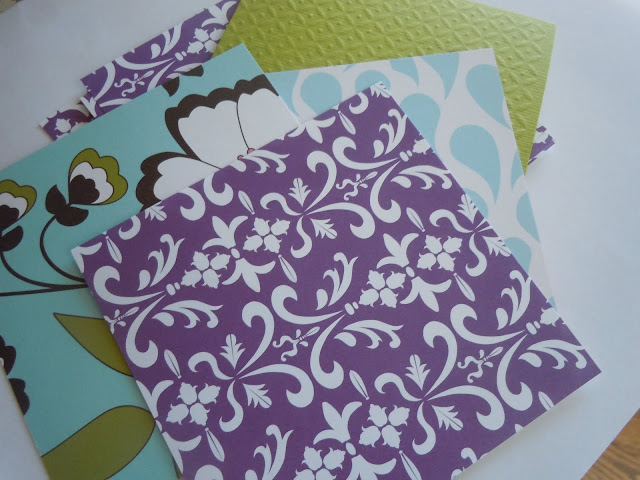
• Pretty Scrapbook papers - this is the fun part! Pick out papers that go together, or pick out one interesting sheet and cut all your pieces from that. One 12x12 piece of paper will be enough for one set of six coasters.
• Modpodge - Just the regular kind, or you can try one of the high shine varieties.
• Sponge brushes
• Paper slicer
• Self-stick sheets of cork – we found them right in the same aisle with the scrapbook papers. If you can’t find it, felt would work too.
• Plain old 4x4 white tiles – had to get them at the “home improvement store”. They were only 10 cents apiece!
• A can of acrylic varnish to seal the tiles.
Here’s what you do:
• Use your paper slicer to cut 4x4 squares of the papers you’ve selected.
• Using a sponge brush, brush one coat of Modpodge onto the top of the tile.
• Place a square of paper over that positioning it carefully so it’s nice and straight.
• Wait for it to dry, pressing out any bubbles as it dries.
• Brush a coat of Modpodge on top, covering the whole top of the tile.
• Let it dry thoroughly, and brush on two more coats, drying thoroughly in between each.
• Place dry tiles on a newspaper or something outside where there’s plenty of ventilation.
• Spray on a coat of acrylic varnish. Let dry, and repeat two more times.
• Use the paper slicer to cut 4x4 squares of the cork.
• Once the varnish is dry, flip the coasters over.
• Remove the cork backing and stick the squares to the bottom of the tile.
Tada! Coasters!
Subscribe to:
Posts (Atom)


